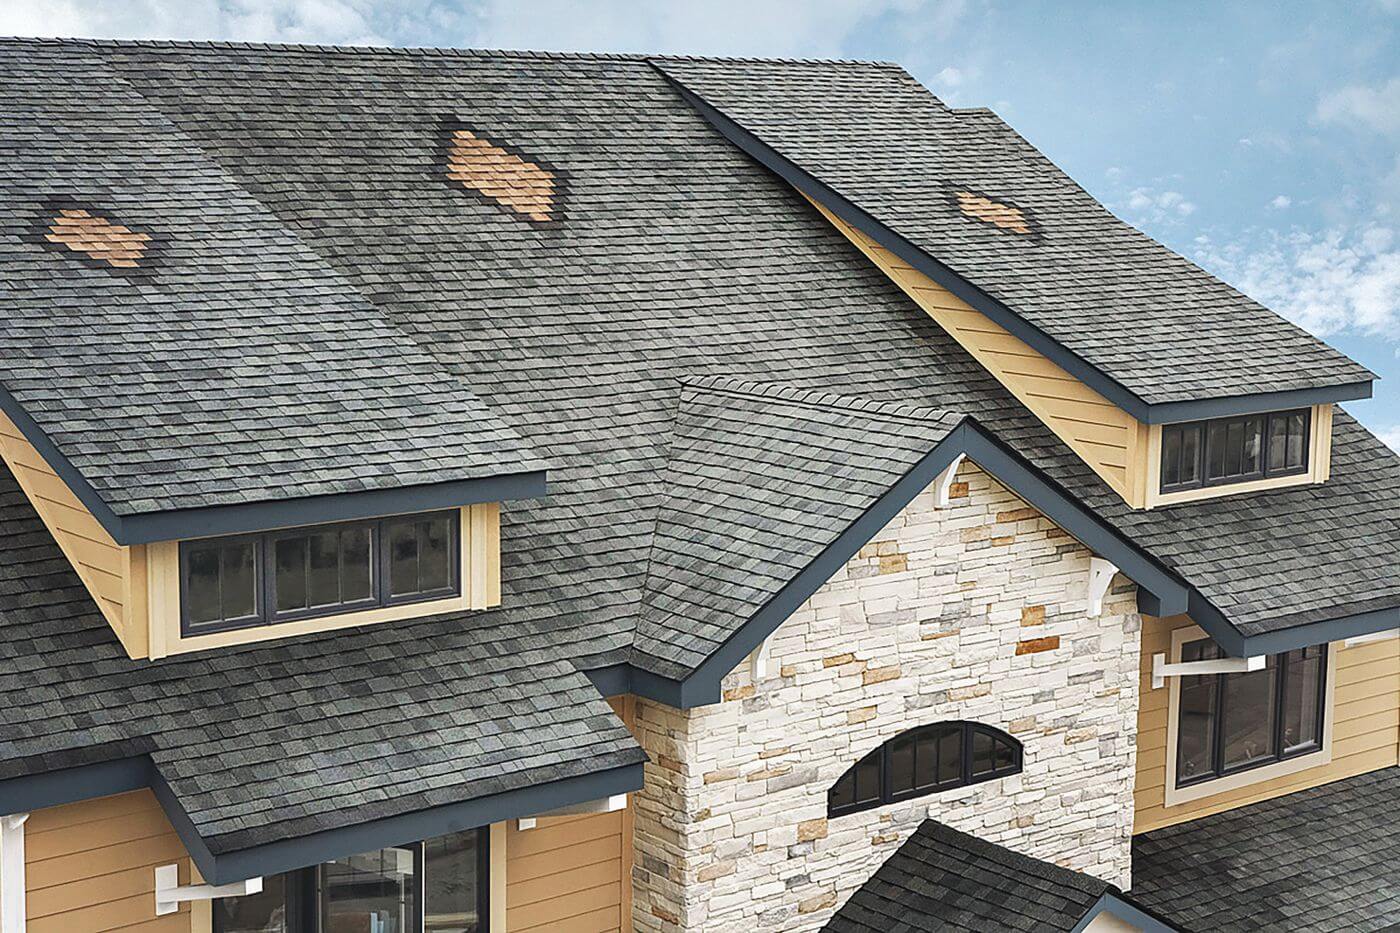
Shingle installation patterns are techniques for orienting and interlacing roof shingle courses to maintain the balance of joints between shingles in progressive courses and to speed production by establishing simple installation measures.
The two patterns commonly recommended are the racking pattern and the pyramid pattern. Each pattern enjoys its benefits for installation speed and the resulting appearance of the roof. You’ll presumably find one pattern or the other will work better on certain styles and pitches of roofs or with various types of shingles.
Racking Pattern Layout
The racking pattern is controlled by at least two chalk lines running up the roof plane opposite to the eaves and edge. The joints between shingles in progressive horizontal courses are balanced from one another by one-half a tab wideness. However, other offsets can be utilized to randomize the shingle joints. The shingle joints in the racking pattern substitute as the shingles go up the roof.
Benefits of Racking Pattern
The layout cycle is genuinely simple for the racking pattern. A significant benefit is that the racking pattern makes an excellent showing of keeping cutout slots in three-tab shingles adjusted than the pyramid pattern does. When you install three-tab shingles, you need to keep the cutout slots between the tabs in vertical alignment between progressive courses. This is because when the slots float aslant, the roof looks unprofessional.
Roofers frequently snap vertical control chalk lines for the racking pattern in a roof section. While running the primary column of shingles up the control lines, workers can install shingles to one side and the right from the starter column. This empowers more workers to coordinate their efforts.
Pyramid-Pattern Layout
The pyramid pattern is otherwise called the diagonal pattern. This is because it stirs up the roof at a diagonal instead of going straight up the roof like the racking pattern. The angle is rarely a genuine 45 degrees, yet it gives the idea that way from a good way regardless of the balance. The roof shingles commenced along one rake edge with ends of shingles in progressive courses staggered diagonally to form the appearance of one side of a stepped pyramid.
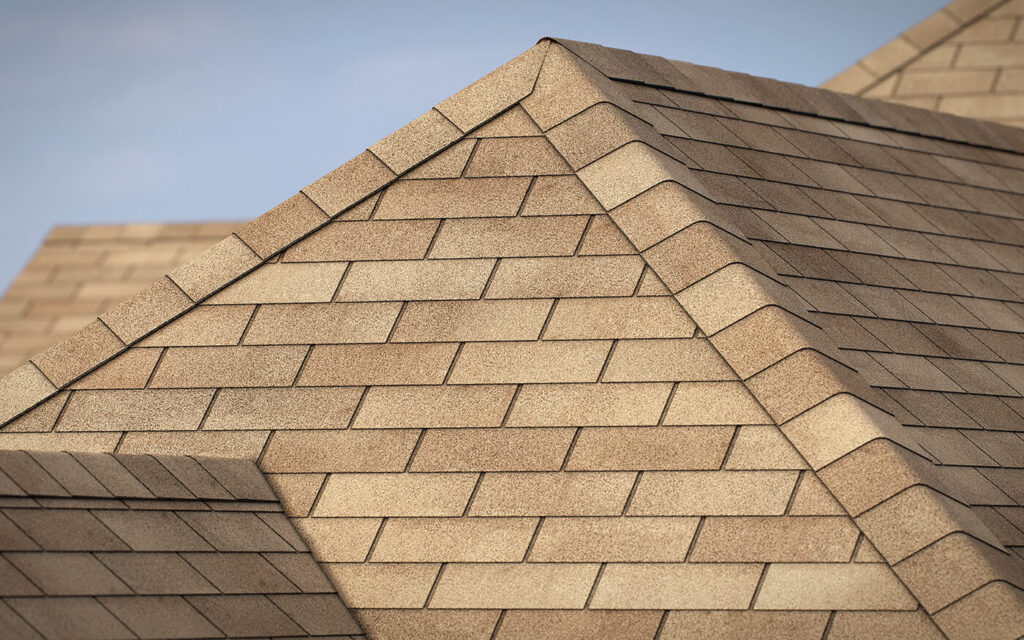
Benefits of Pyramid Pattern
There are a few benefits to using the pyramid pattern. Once you get the pyramid begun, shingling goes rapidly. You can stir up a roof at a diagonal or left and right horizontally. Since there are no offsets between courses similarly as with the racking pattern, you don’t have to battle lifting the ends of shingles and driving fasteners. This paces production considerably. The eaves-to-edge zipper impact is eliminated too. Sometimes a diagonal zipper can grow, yet it isn’t pretty much as clear as a straight one.
The pyramid pattern is the favored installation pattern for laminated and other random-appearance shingles. Numerous producers suggest an altered pyramid pattern where the offsets between shingles aren’t equivalent measurements. Rather than equivalent 6-inches offsets, they may suggest a counterbalance of 7 inches. This increases the randomness of the roof shingles and decreases the opportunity for a diagonal zipper will show up.