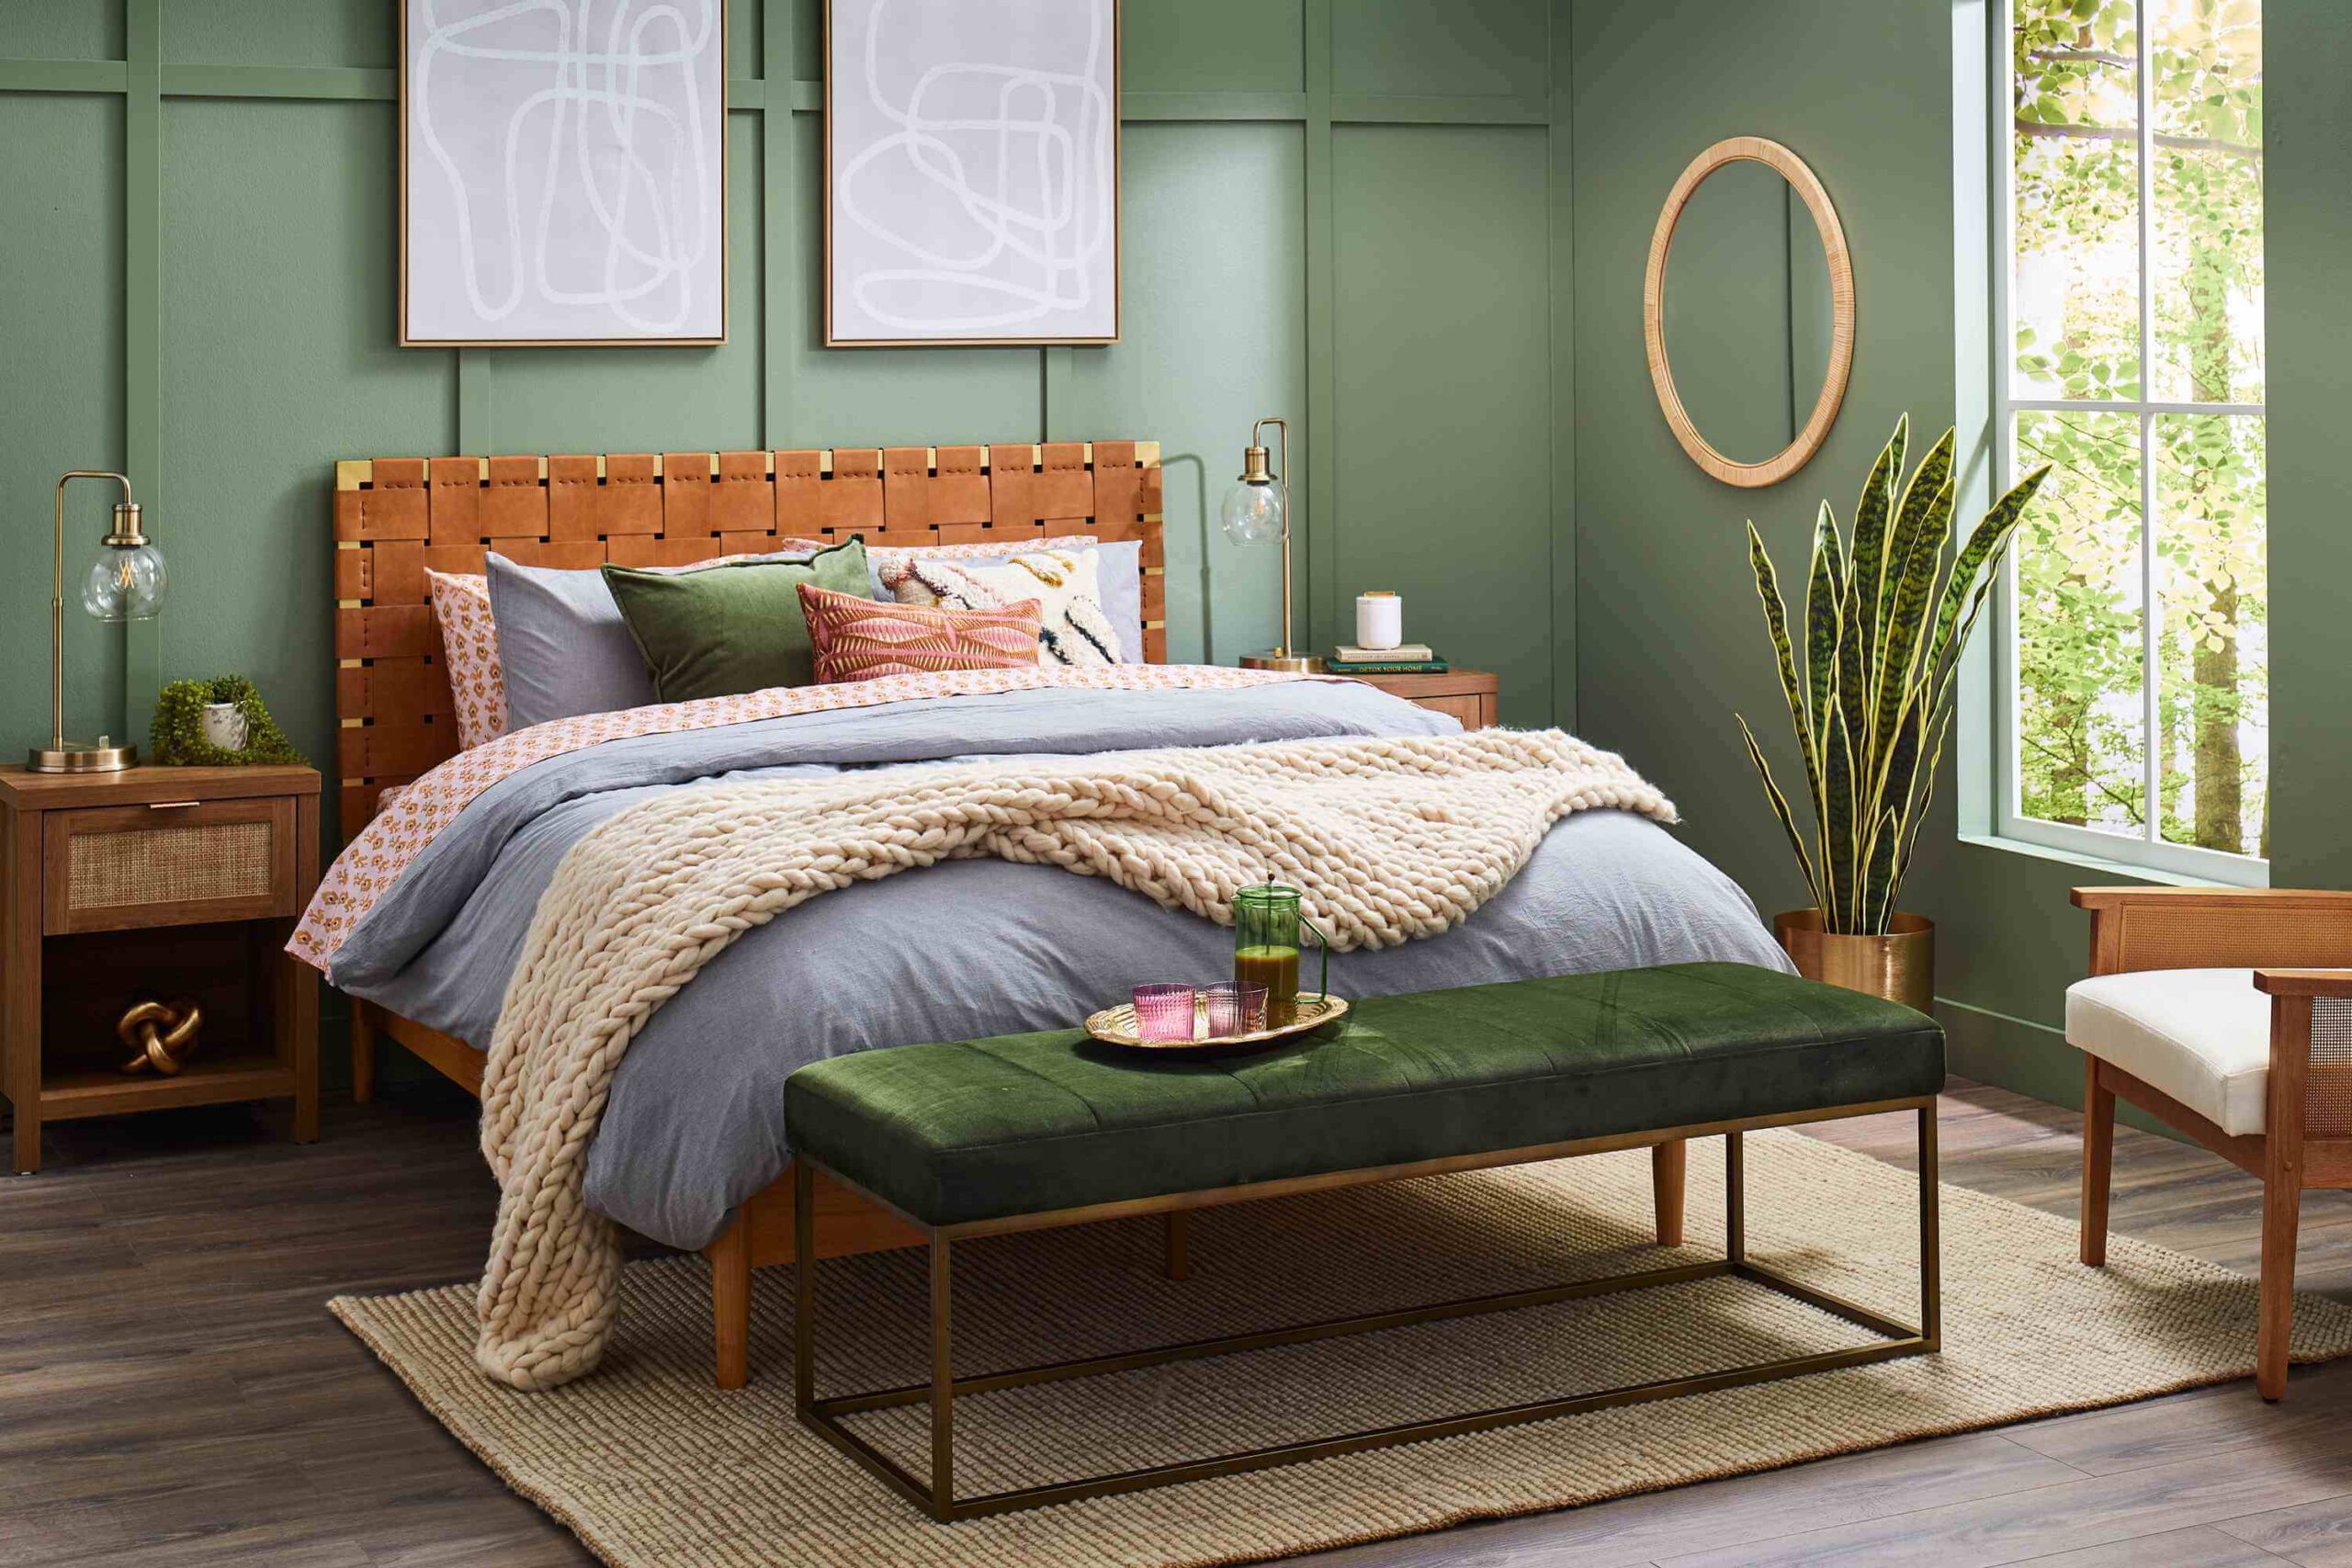
Headboards are a great way to add a touch of style and personality to your bedroom. A creative headboard made from wood blocks can be a perfect solution to update the look of your bedroom. Not only is it a unique and fun project to undertake, but it is also cost-effective and can add a natural, rustic charm to your bedroom decor. In this article, we will guide you through the process of making a creative headboard from wood blocks.
Materials Needed
Before we get started, let’s go over the materials you will need to make a headboard from wood blocks. Here is a list of materials you will need:
- Wood blocks: You can purchase wood blocks from any hardware store or lumberyard. We recommend using a softwood like pine or spruce, which is easy to cut and work with.
- Sandpaper: You will need sandpaper to smooth out the rough edges and surfaces of the wood blocks.
- Saw: You will need a saw to cut the wood blocks into the desired shape and size.
- Drill: You will need a drill to create holes in the wood blocks for assembling the headboard.
- Screws: You will need screws to attach the wood blocks together.
- Wood glue: You will need wood glue to reinforce the blocks together.
- Stain or paint: Depending on the desired look, you can choose to stain or paint the headboard. Choose a stain or paint that complements your bedroom decor.
Preparing the Wood Blocks
Before you can start creating your headboard, you need to prepare the wood blocks. Start by measuring the width of your bed to determine the width of your headboard. Once you have the width, you can start cutting the wood blocks to the desired length. You can choose to have the blocks all the same length, or you can vary the lengths to create a unique design.
Once you have cut the wood blocks, you will need to smooth out the rough edges and surfaces of the blocks using sandpaper. This will ensure that the blocks fit together smoothly and that there are no sharp edges that could cause injury.
Designing the Headboard
Designing the headboard is where you can get creative and let your imagination run wild. There are several design options you can choose from when it comes to a wood block headboard. Here are a few design ideas to get you started:
- Vertical design: This design involves stacking the wood blocks vertically to create a sleek and modern look. You can alternate the lengths of the blocks to create a unique pattern.
- Horizontal design: This design involves placing the wood blocks horizontally to create a more traditional look. You can vary the lengths of the blocks to create a unique design.
- Chevron design: This design involves placing the wood blocks in a chevron pattern to create a modern and geometric look.
- Random design: This design involves placing the wood blocks randomly to create a unique and whimsical look.
Once you have chosen a design, you can start arranging the wood blocks on a flat surface to create the desired pattern. This will help you visualize how the headboard will look once it is assembled.
Cutting the Wood Blocks
Once you have arranged the wood blocks in the desired pattern, you can start cutting them to the correct size and shape. Use a saw to cut the blocks to the desired length and shape.
Remember to take safety precautions when using a saw, and wear safety goggles to protect your eyes.
Assembling the Headboard
Now that you have all the wood blocks cut and sanded, it’s time to assemble the headboard. Start by drilling holes in the wood blocks where you will attach them together. We recommend drilling two holes in each block, one at the top and one at the bottom, to ensure a sturdy connection.
Once the holes are drilled, you can start attaching the wood blocks together using screws and wood glue. Apply a small amount of wood glue to the edges of the blocks where they will be attached together, and then screw them in place. Make sure the screws are tightened securely to ensure that the headboard is sturdy.
Continue attaching the wood blocks together until you have created the desired size and shape of your headboard. Once the headboard is assembled, you can sand any rough edges and surfaces to ensure a smooth finish.
Finishing Touches
Now that your headboard is assembled, it’s time to add the finishing touches. You can choose to stain or paint the headboard, depending on the desired look. If you choose to stain the headboard, make sure to apply the stain evenly and let it dry completely before attaching the headboard to your bed frame.
If you choose to paint the headboard, make sure to use a primer first to ensure that the paint adheres properly. Choose a paint color that complements your bedroom decor, and make sure to let the paint dry completely before attaching the headboard to your bed frame.
Conclusion
Making a creative headboard from wood blocks is a fun and easy project that can add a touch of style and personality to your bedroom. With a few simple tools and materials, you can create a unique and rustic headboard that will be the centerpiece of your bedroom decor.
Remember to take safety precautions when using tools like saws and drills, and always wear protective gear like safety goggles to protect your eyes.
With the right materials and design ideas, you can create a headboard that is not only functional but also a work of art. So, get creative and start making your own wood block headboard today!